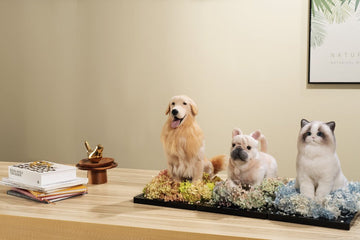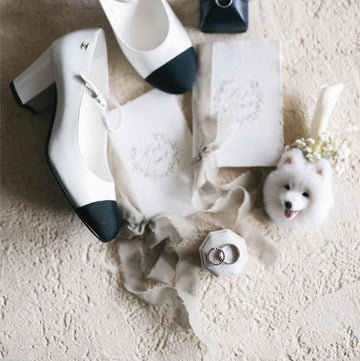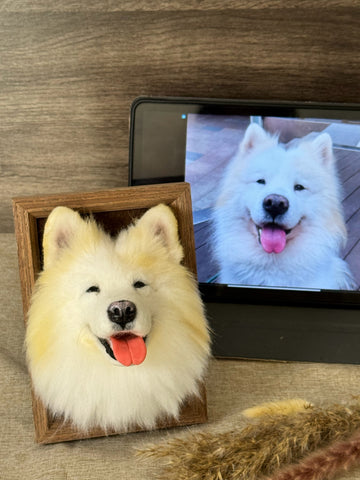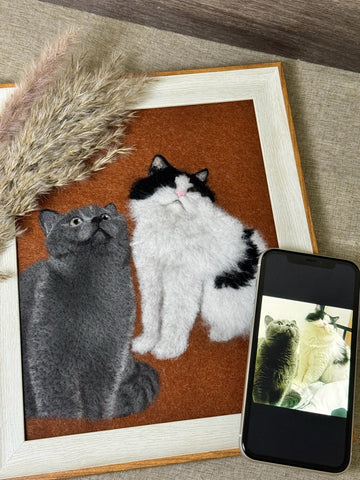
What is Needle Felting?
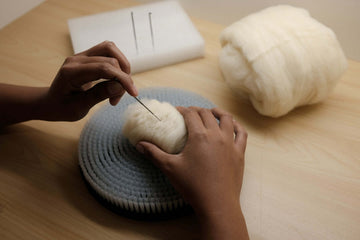
Needle felting is a fascinating craft that allows you to create almost any shape or figure with a needle and some wool. Crochet is another popular needlecraft that uses a crochet hook and yarn to create textiles, while needle felting uses special barbed needles to transform wool into a three-dimensional object. This little-known process involves poking wool with barbed needles, which entangle the fibers and change the texture of the wool from soft to hard.
Getting Started with Needle Felting
If you're new to needle felting, it's best to start with smaller projects to build your confidence and refine your skills. Using the right materials and tools is crucial for a positive experience and successful results. Keep your workspace tidy and organized, take your time with each project, and use the appropriate needles. Remember, mistakes are part of the learning process and can help you improve.
Tools and Materials
The essential tools and materials for needle felting include:
Wool for Needle Felting
Unlike the wool yarn used for knitting or crocheting, needle felting requires raw wool that has been cleaned and brushed. Carded wool is the standard choice, while core wool, a more affordable option, is ideal for beginners. Experienced felters often use core wool for the inner structure of their pieces and cover it with finer wool.

Needle Felting Workstation
A thick pad (at least two inches) is necessary to protect your work surface and prevent needle breakage. There are two types of workstation.
- Foam workstation: The most common type. It is light and easy to carry but can break easily. It is mainly used for small objects like ears, paws, etc.
- Brush workstation: It is durable and mainly used for larger objects.


Felting needles
These needles, available in different sizes and shapes, are finely barbed and used to poke and shape the wool. There are three sizes of needle commonly used for needle felting.
- Long needle (9 cm): Thick and mainly used for forming shapes in the beginning stage.
- Medium needle (8.5 cm): Smaller in size, used in the middle stage for shaping the object.
- Small needle (7.8 cm): Thin and mainly used for fine-tuning and detailing the object.
- Three-needle pen: A common tool to accelerate the speed of forming shapes in the beginning stage.

Brush
Essential for preparing and blending wool fibers. It is also used to comb the wool to make the hair flow naturally.

Scissors
Scissors are necessary for trimming and shaping the wool. There are two types of scissors - straight and curved scissors.
- Straight scissors: Commonly used to shorten the hair over a large area.
- Curved scissors: Used for detailed cutting and shaping, especially in curved areas.

Best Advice for Complete Beginners
For those just starting with needle felting, here are some valuable tips:
- Embrace mistakes: View them as opportunities to learn and improve.
- Start simple: Begin with basic shapes to get a feel for the technique.
- Use less wool: It's easier to add more wool than to remove excess.
- Be patient: Needle felting is a time-consuming process that requires patience and persistence.
Needle Safety
Needle safety is paramount in needle felting. Always use a foam pad for protection and push the needle straight in and pull it straight out to avoid breakage. Be mindful of your fingers to prevent accidental punctures.
How to Needle Felt a Simple Shape
Creating simple shapes is a great way to get started. Here's a basic guide:
- Roll the wool: Tightly roll the wool into a rough oval shape, tucking the ends in as you go.
- Check firmness: Continue rolling and checking for firmness. If it's loose, start over.
- Shape and add wool: Keep shaping and adding wool until you achieve the desired size and shape.
- Use a template: A drawn template can serve as a size and shape guide.
Important Tips and Techniques for Successful Needle Felting
To achieve the best results in needle felting, follow these tips:
- Ensure firmness: Your 3D shapes should be firm but not overly hard.
- Tightly roll body parts: This helps when felting pieces together.
- Use short stabbing motions: Avoid deeply puncturing the foam block.
- Rotate your project: This prevents dents and ensures even shaping.
- Start with less wool: Add more as needed.
- Anticipate shrinkage: Your project will shrink about 30% as it firms up.
- Move the needle vertically: This prevents needle breakage.
- Take your time: Enjoy the learning process.
- Pay attention to details: The project may not look good until it's near completion, so keep going and focus on the details.
Common Mistakes for Beginners
Even though needle felting is one of the easiest felting techniques to learn, beginners often encounter challenges. Here are some common mistakes to avoid:
- Felting too deep: Short, quick stabs are more effective than deep punctures. Deep felting can break your needle.
- Felting sideways: Always poke the needle vertically to avoid bending and breaking.
- Lack of patience: Needle felting is time-consuming and requires patience. Avoid rushing through the process.
Conclusion
Needle felting is a delightful and rewarding craft that allows you to create beautiful woolen sculptures. By starting with simple projects, using the right tools, and being patient, you can master this craft and avoid common mistakes. Whether you're a beginner or an experienced felter, needle felting offers endless creative possibilities. Embrace the learning process, enjoy the journey, and soon you'll be creating intricate and charming woolen creations.
